Quick Start Guide
This guide walks through the full setup: connecting your accounts, creating a server, adding your app, and deploying it. The Potions dashboard guides you through each step with a setup wizard, so you always know what's next.
Watch a full deploy in under 3 minutes.
Before You Start
You'll need:
- A Potions account: sign up here
- A cloud provider account - either DigitalOcean or Hetzner Cloud
- A GitHub account: sign up here
-
A Phoenix app in a GitHub repository. Phoenix 1.7+ apps work out of the box (Potions builds your app with
mix release). There's also a starter app you can use.
Step 1: Choose a Plan
Potions asks you to choose a plan when you first log in. All plans come with a 14-day trial so you can try Potions at no cost to ensure it's a good fit for you.
You can change or cancel your plan at any time.
Step 2: Connect a Cloud Provider
Before you can create and manage a server in Potions you need to connect a cloud provider. Potions supports DigitalOcean and Hetzner Cloud - connect whichever you prefer (or both, and choose which to use per server).
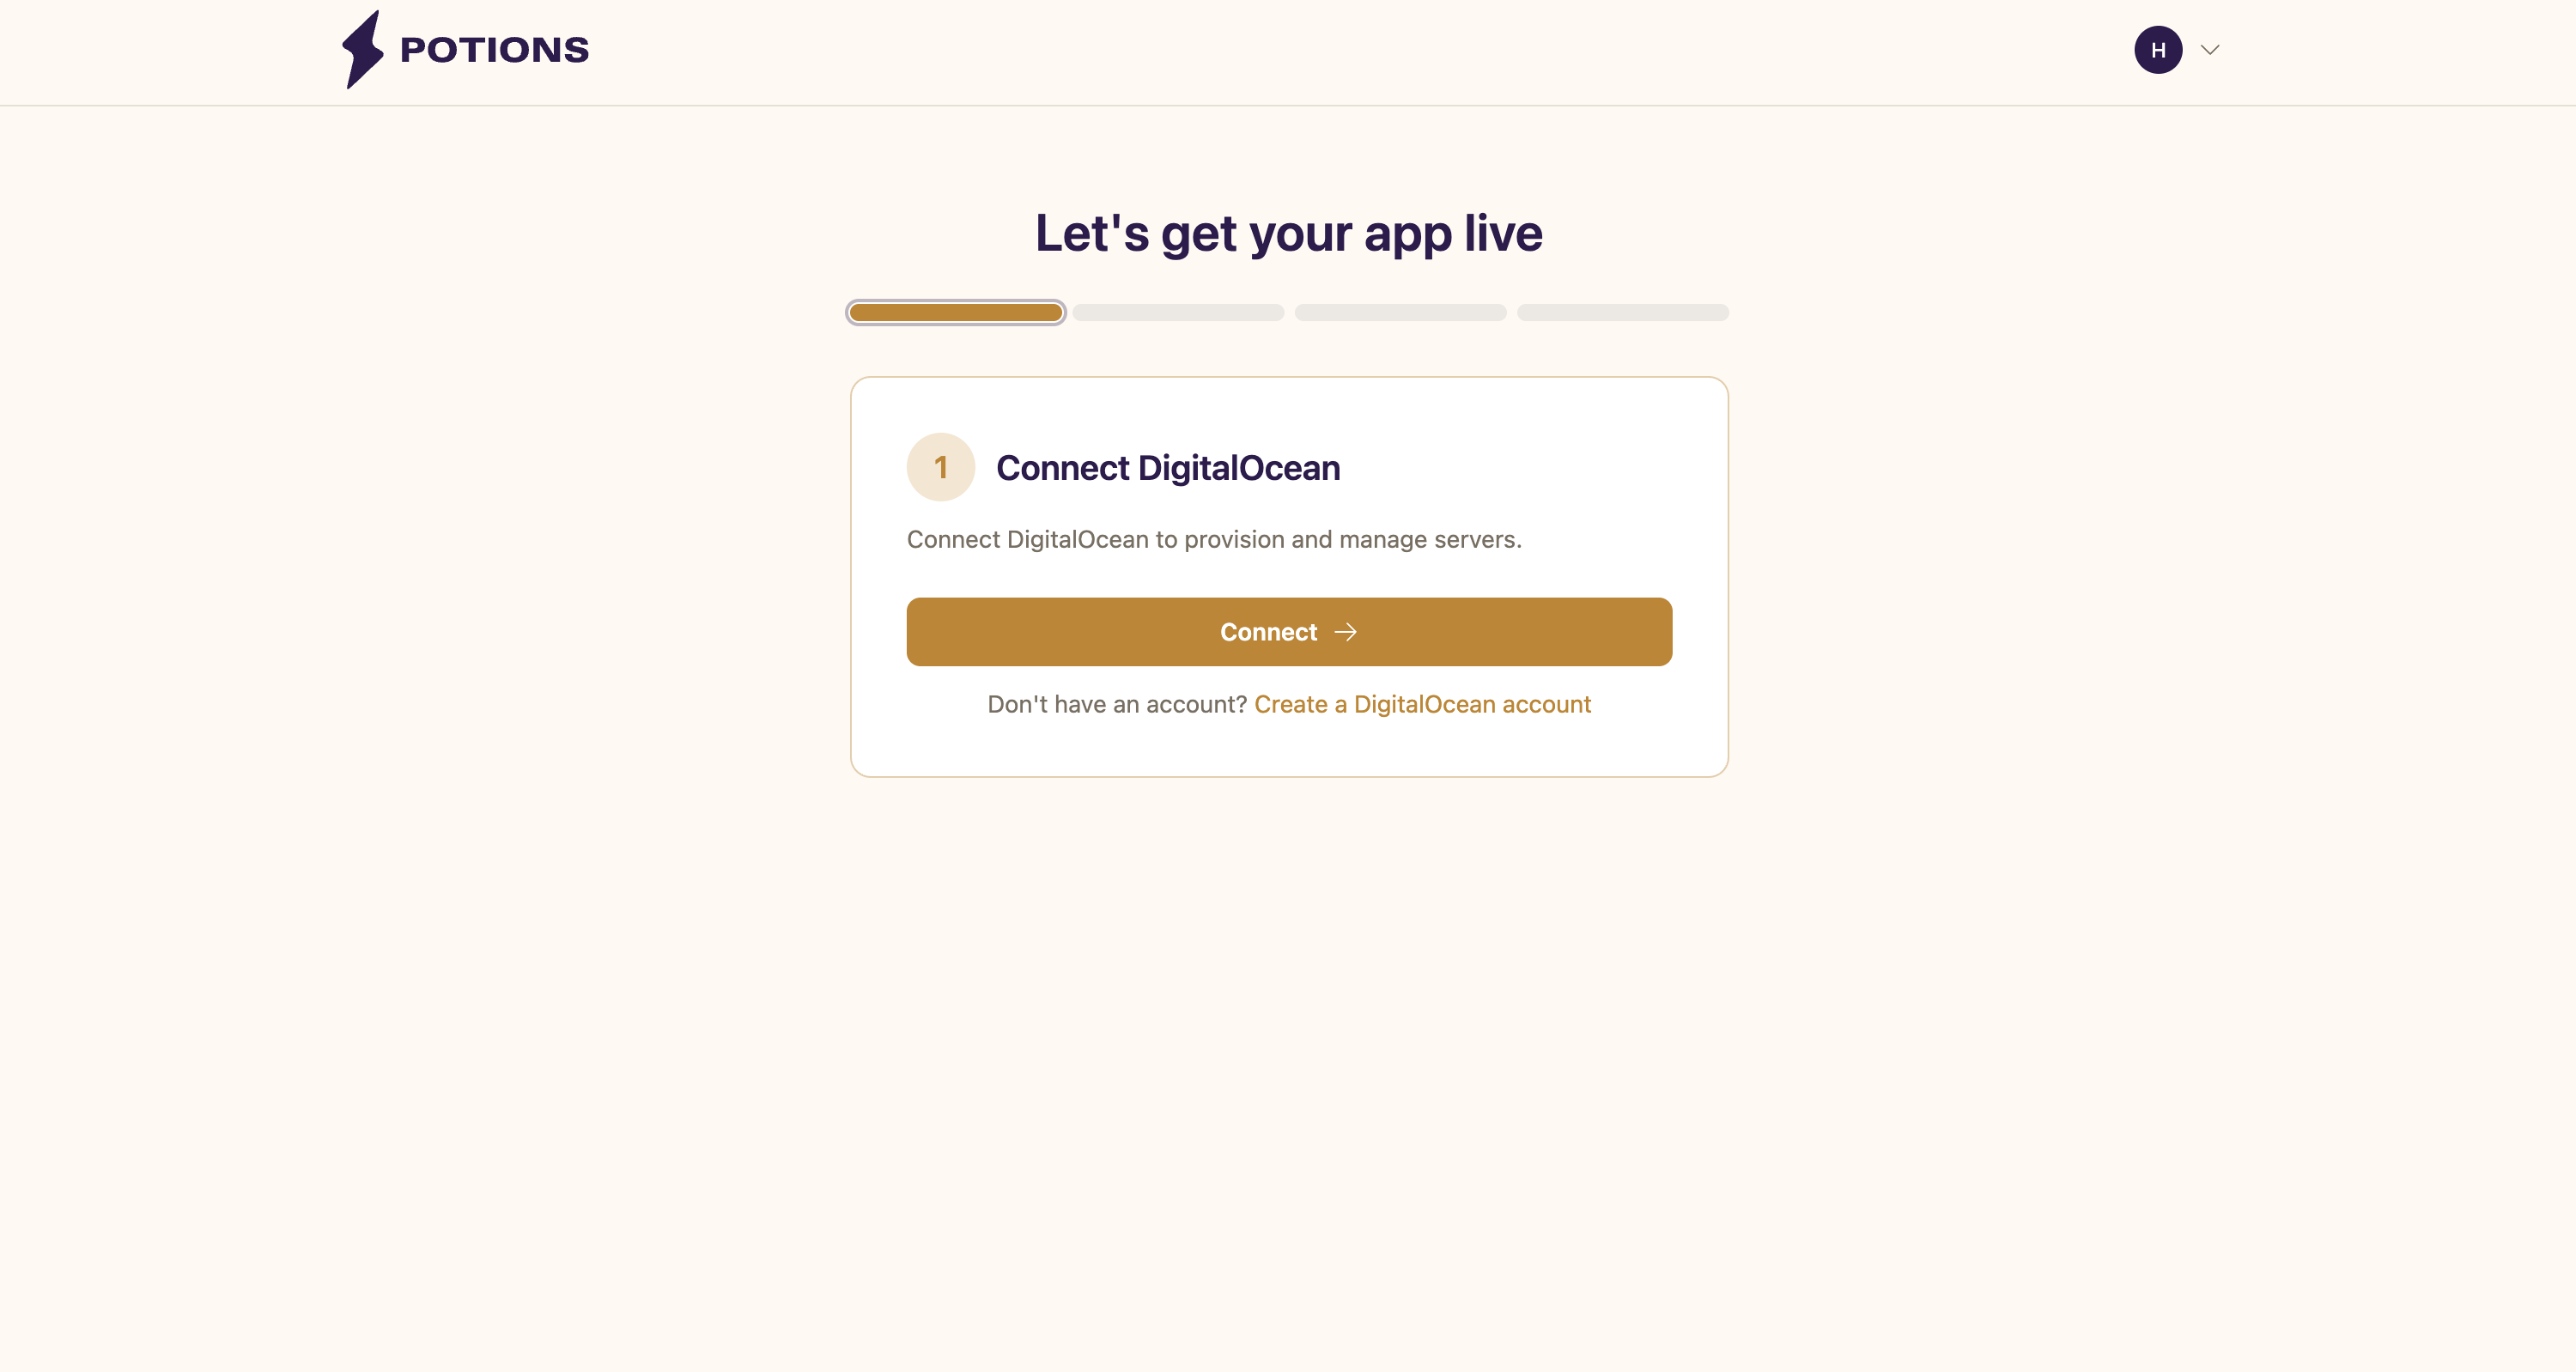
- DigitalOcean: click Connect and you'll be redirected to DigitalOcean to authorize Potions via OAuth. This gives Potions permission to create and manage droplets on your behalf. See Connecting DigitalOcean.
- Hetzner Cloud: click Connect, then paste a project-scoped Read & Write API token from the Hetzner Cloud Console. See Connecting Hetzner.
After you connect, you're sent back to the dashboard and the wizard moves to the next step.
Don't have an account yet? Create one with DigitalOcean or Hetzner Cloud.
Step 3: Create a Server
The wizard shows an inline form to create your first server. Fill in:
-
Name: a label for your reference (e.g.
web-prod-01) - Provider: if you've connected more than one cloud provider, choose which one to create this server on
- Type: App Server (pre-configured for Phoenix apps. More options coming soon)
- Region: pick the region closest to your users (available regions depend on the provider)
- Size: start small for development and light traffic, or pick 2-4 GB RAM for production workloads
- PostgreSQL version: defaults to PostgreSQL 18
Then click Create server to have Potions provision your new server. This can take about 5-10 minutes, but is often faster. You'll see updates in real time.
What Provisioning Installs
Every server gets Ubuntu 24.04 configured with PostgreSQL, Caddy (for automatic SSL), a UFW firewall (ports 22, 80, 443), and a dedicated deploy user for running your apps.
See How It Works for the full server stack breakdown.
Step 4: Connect GitHub and Add Your App
If you haven't connected GitHub yet, the wizard prompts you to do so before you can add an app. Click Connect GitHub to install the Potions GitHub App. During installation, GitHub asks which repositories Potions should have access to. Choose the ones you want to deploy.
Once GitHub is connected and your server is active, you'll be prompted to create your app:
- Repository: select your Phoenix app from the dropdown. Repos are grouped by GitHub account or organization. Use the Refresh button if you recently added a repo.
-
Name: a name for your app (e.g.
my-phoenix-app). This is used for the database name, systemd services, and directory structure on the server. - Branch: the branch to deploy from (defaults to your repo's default branch).
- Elixir version and OTP version: select the versions your app needs.
- Node.js version: optional, only needed if your app has a JavaScript build step.
When you click Create app, Potions creates a dedicated PostgreSQL database for your app and generates environment variables including SECRET_KEY_BASE, DATABASE_URL, PHX_HOST, PORT, MIX_ENV, and PHX_SERVER.
Step 5: Deploy
Click Deploy to trigger your first build. The wizard streams build logs so you can watch the progress in real time.
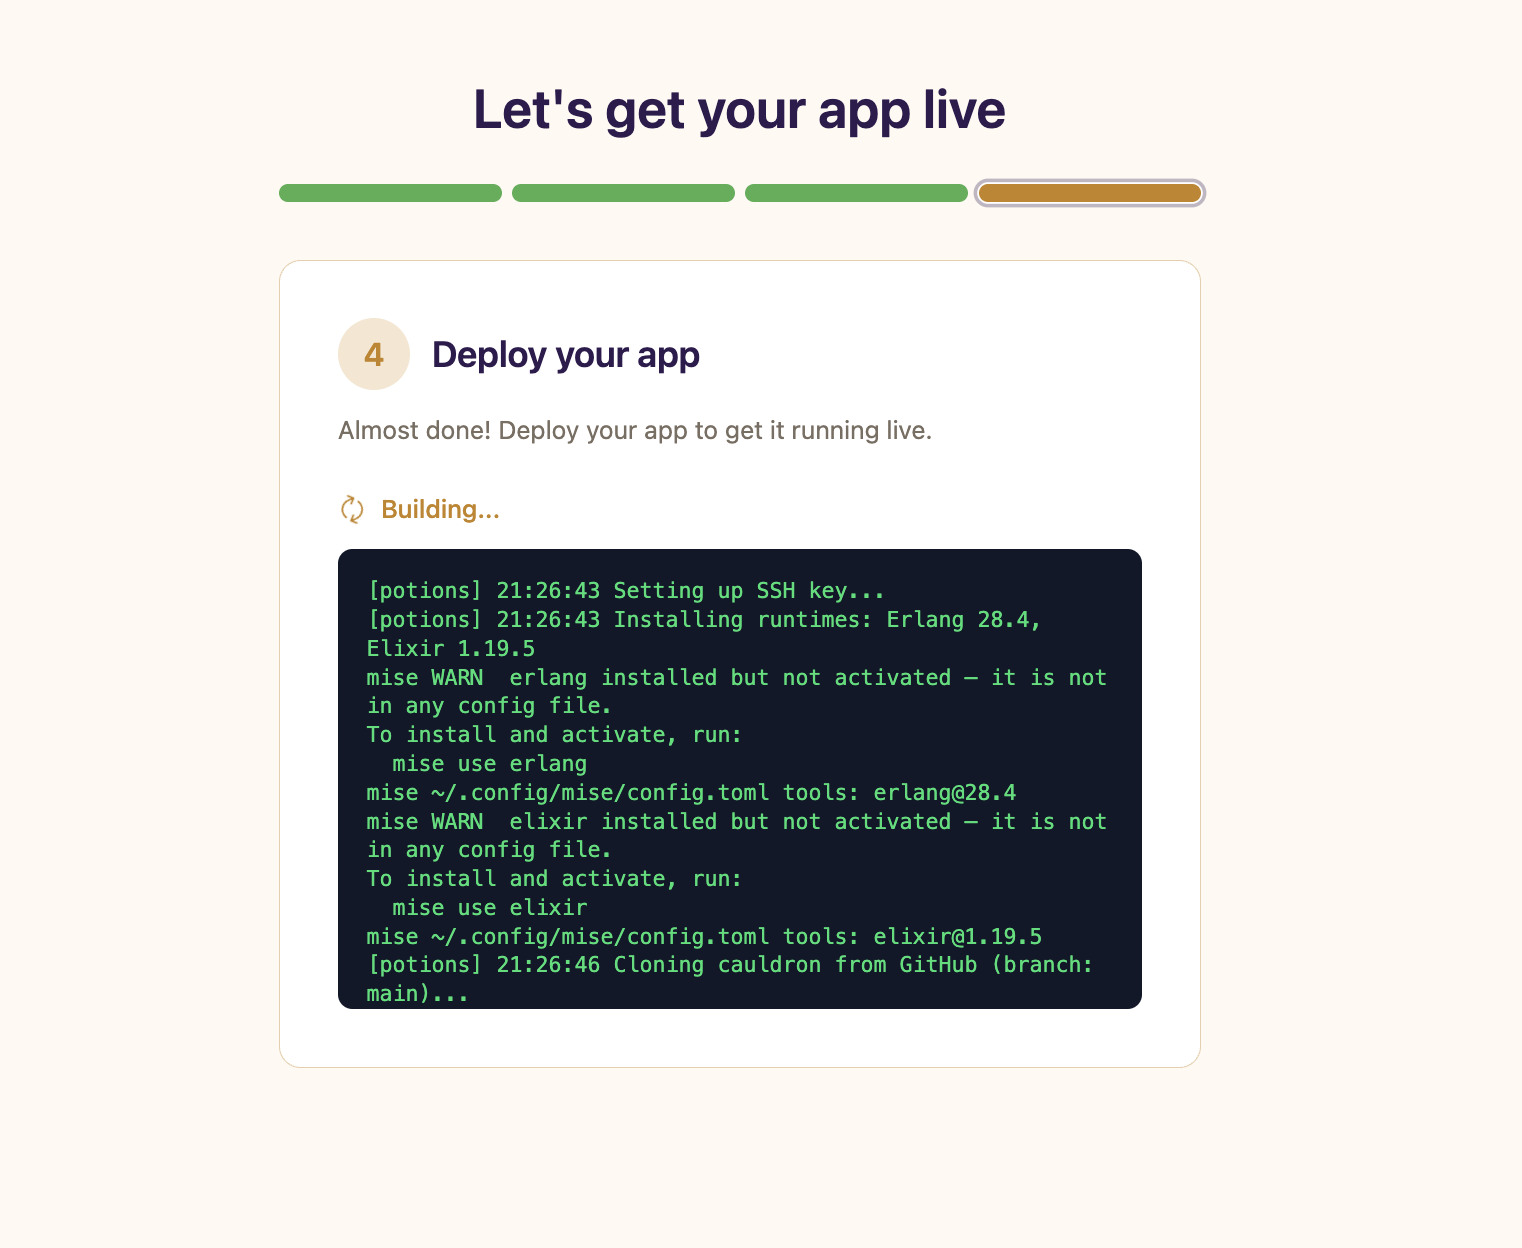
During the deploy, Potions:
- Clones your repository from GitHub
- Fetches dependencies and compiles your app
- Builds a Mix release
- Uploads the release to your server
- Runs database migrations
- Starts the app and verifies it's healthy
Once the health check passes, your app is live. You'll see a success message with your server's IP address and links to next steps.
If your deploy fails, check the build logs for details and click Retry once you've fixed the issue.
What's Next
After your first deploy, you can:
- Add a custom domain: point your domain to the server and get automatic SSL via Let's Encrypt
- Configure environment variables: add any app-specific secrets or config values
- Understand zero-downtime deploys: every subsequent deploy uses blue-green deployment to keep your app running without interruption
Once you add and verify a custom domain, Caddy provisions an SSL certificate and starts serving traffic over HTTPS automatically.